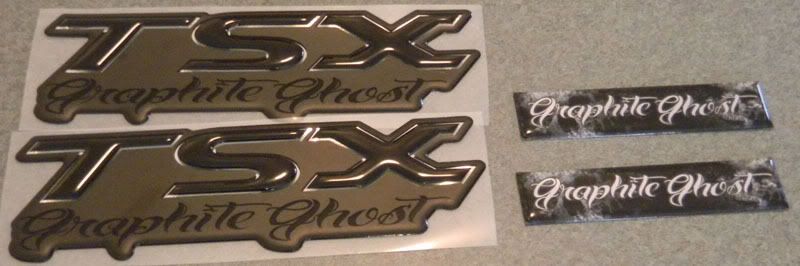
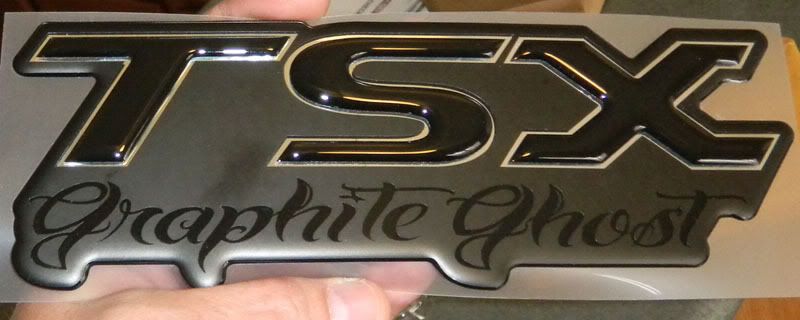
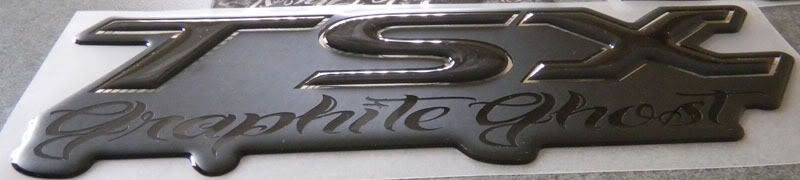
Graphite Ghost (Wagon) Progress......
I brought the Ghost home on Feb 27. Its 3/23 and i have about 500 SMILING MILES.
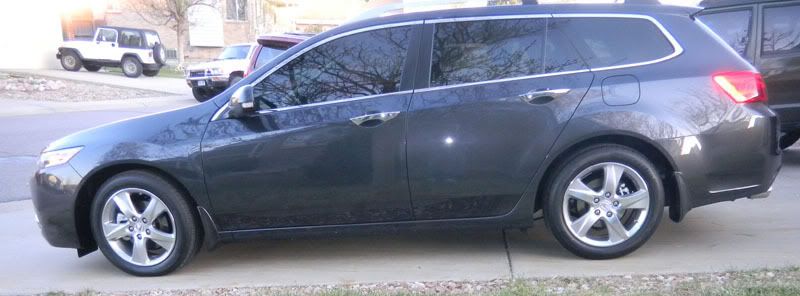
2012 TSX SportWagon Tech GLM.
I will catch up in this poat........
tinted at 20%
![Image]()
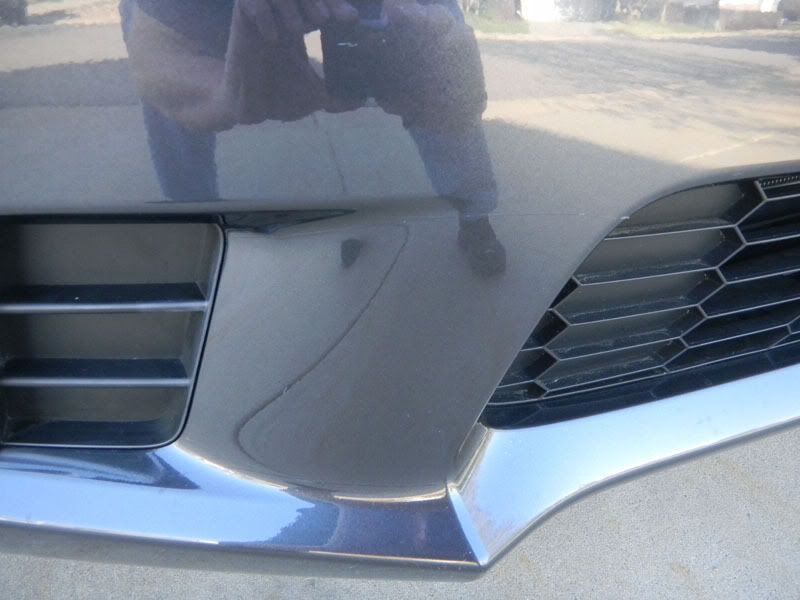
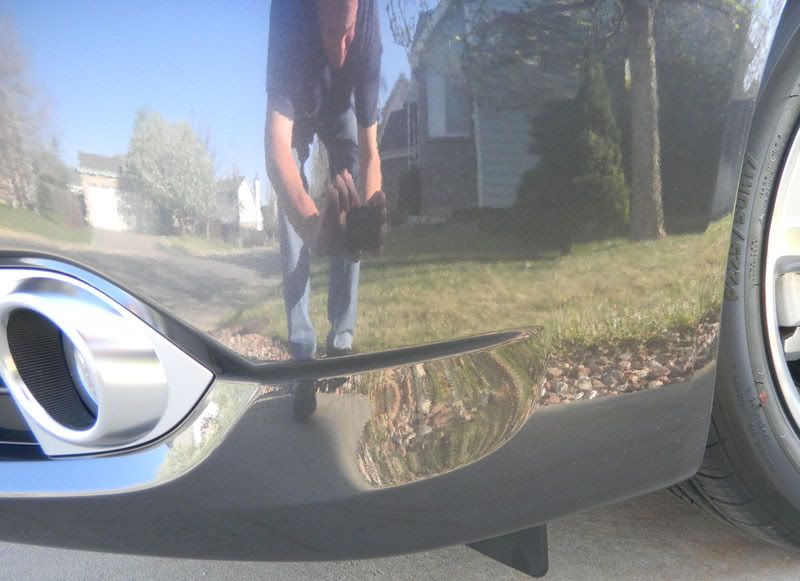
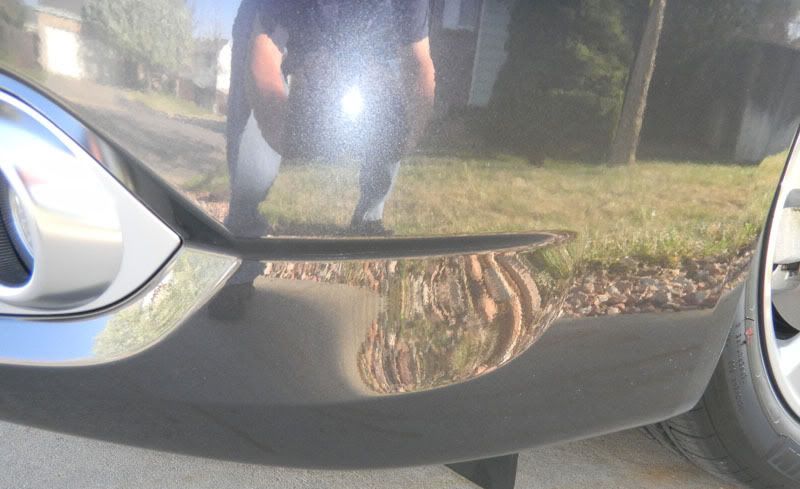
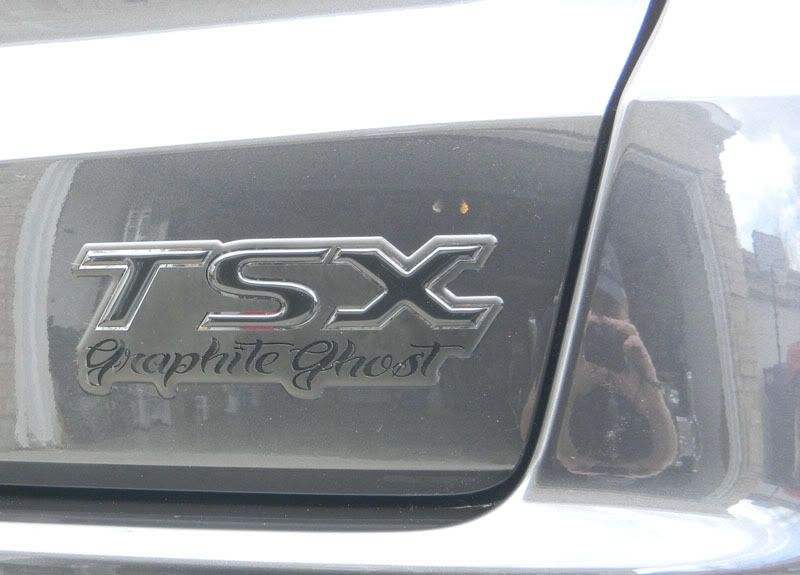
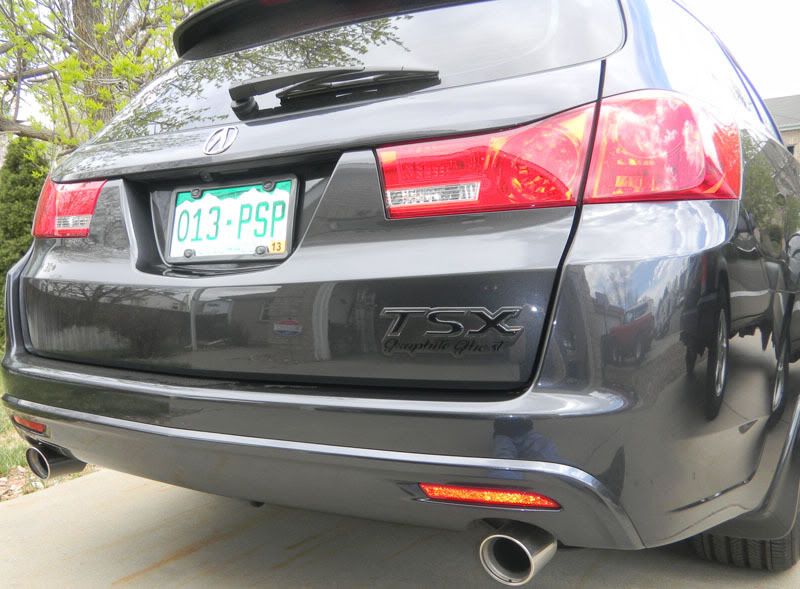
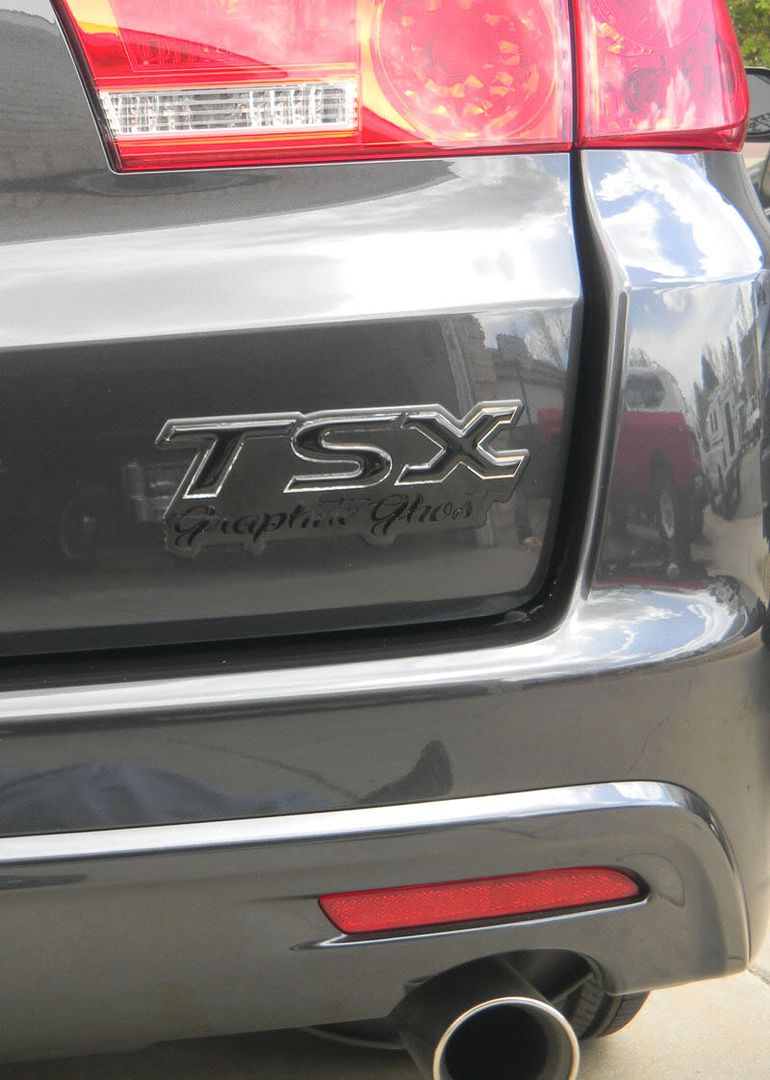
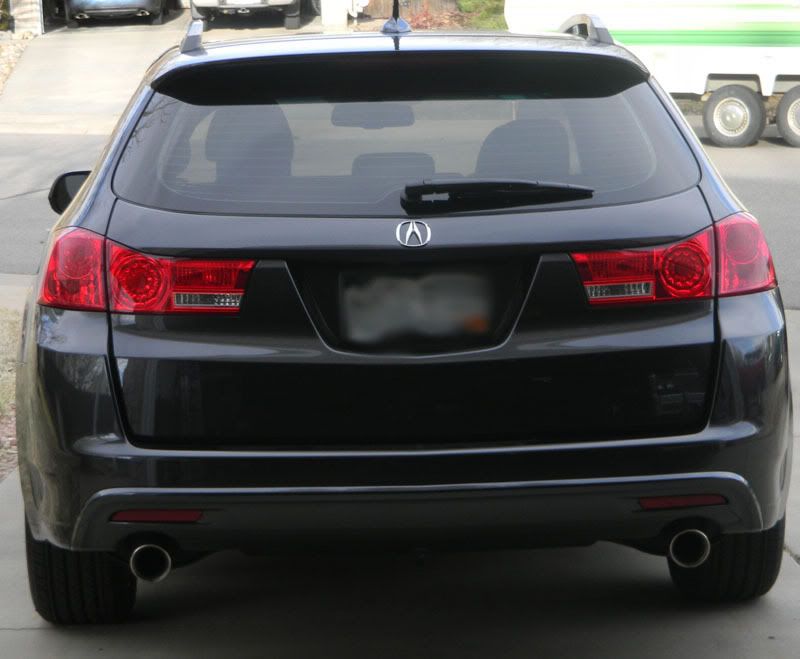
debadged
![Image]()
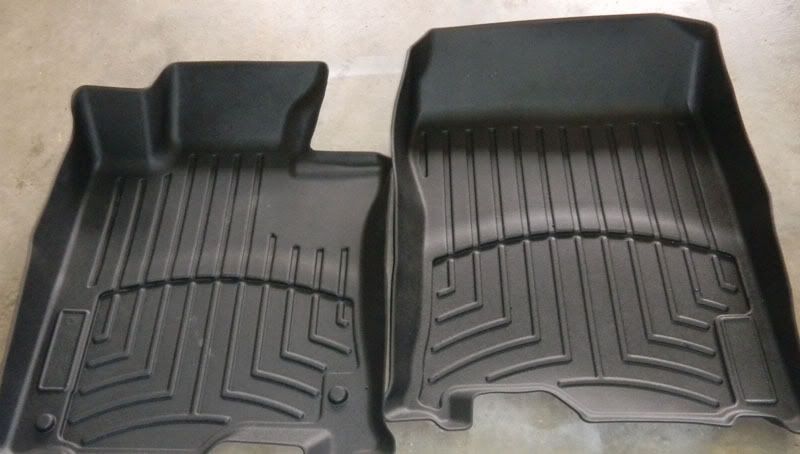
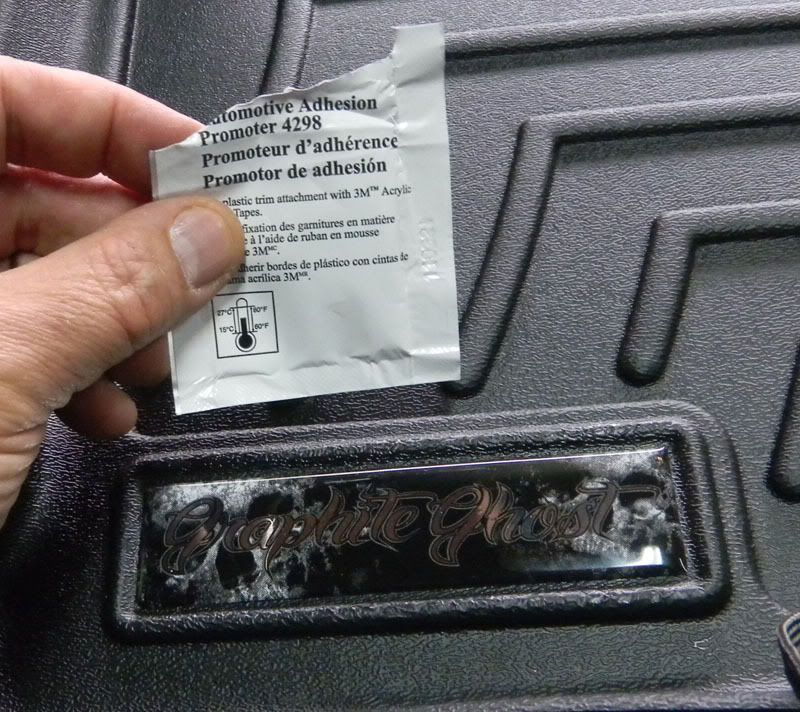
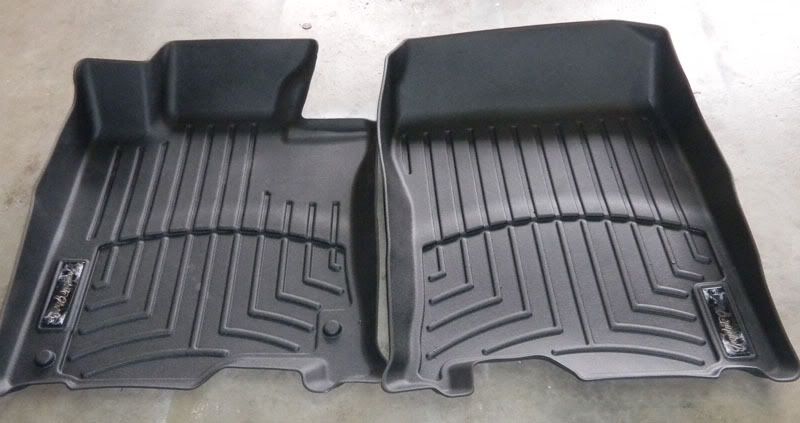
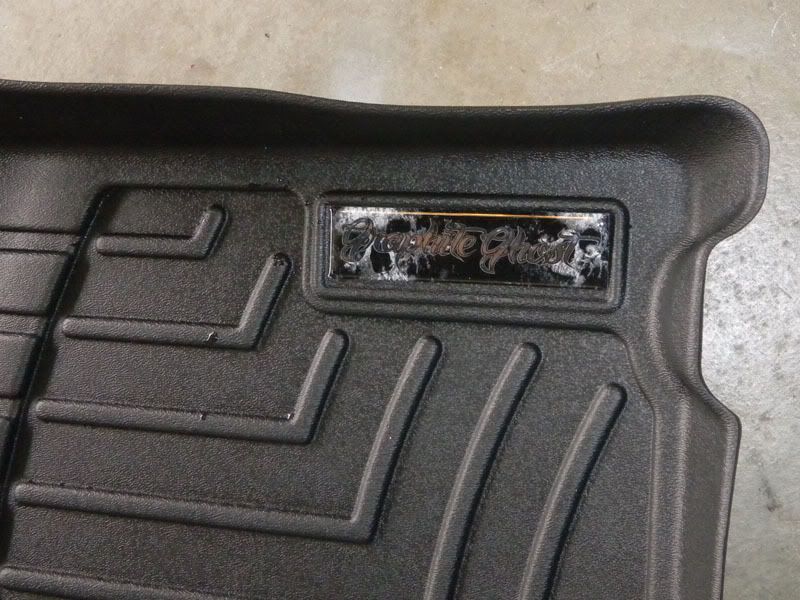
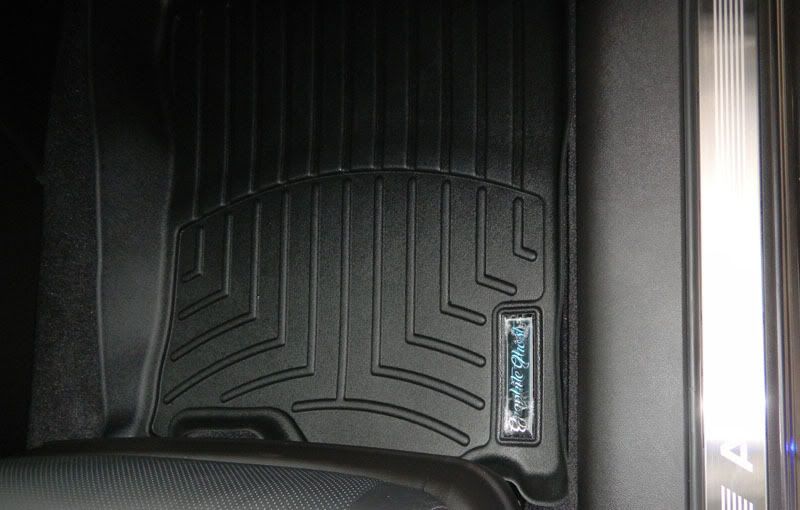
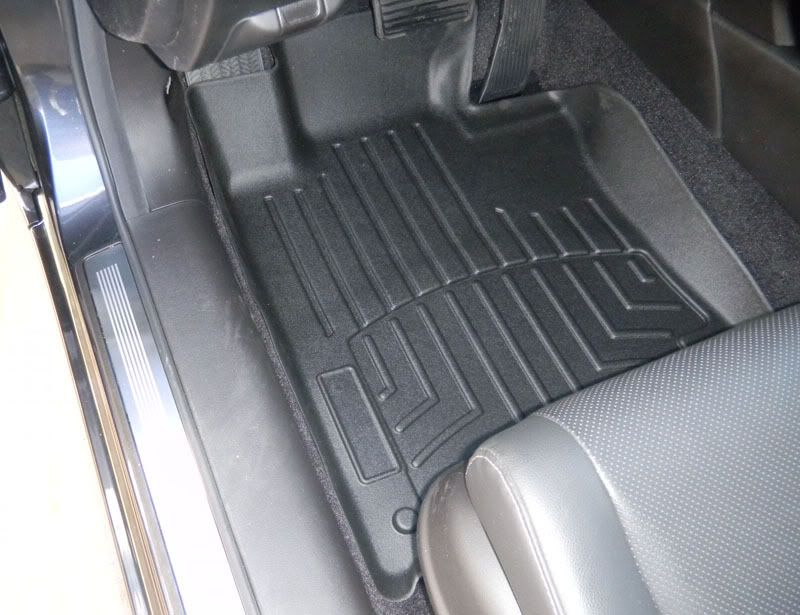
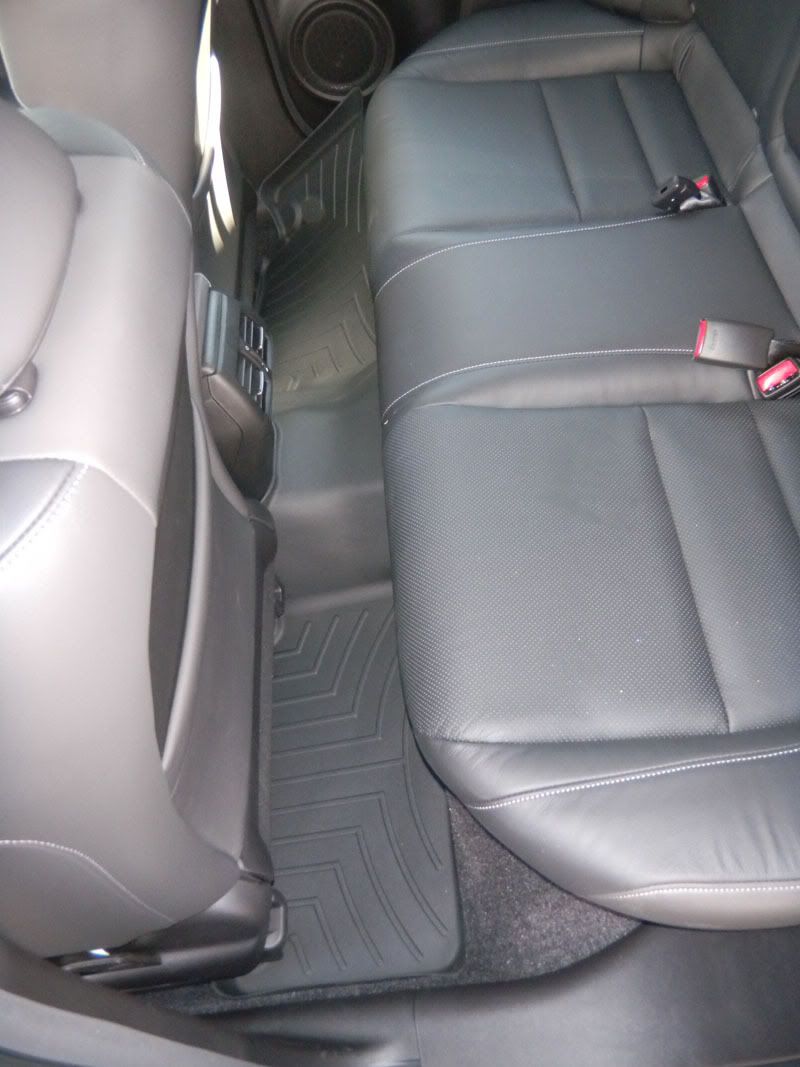
weathertech first 2 rows
![Image]()
![Image]()
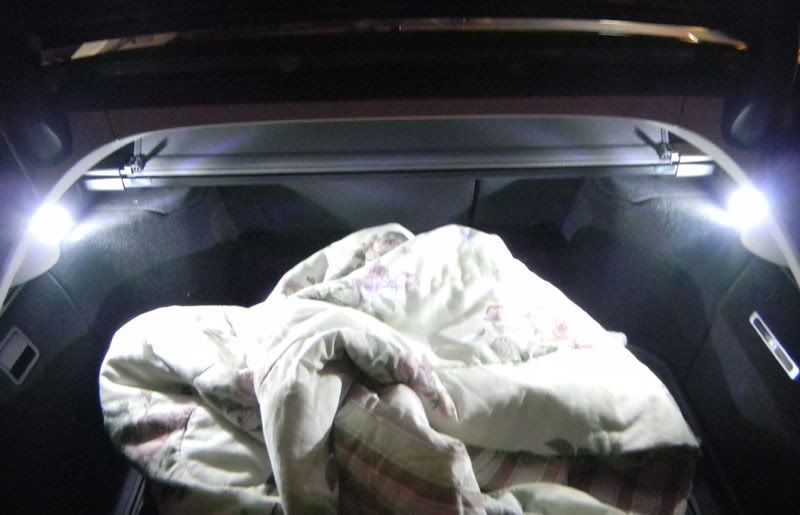
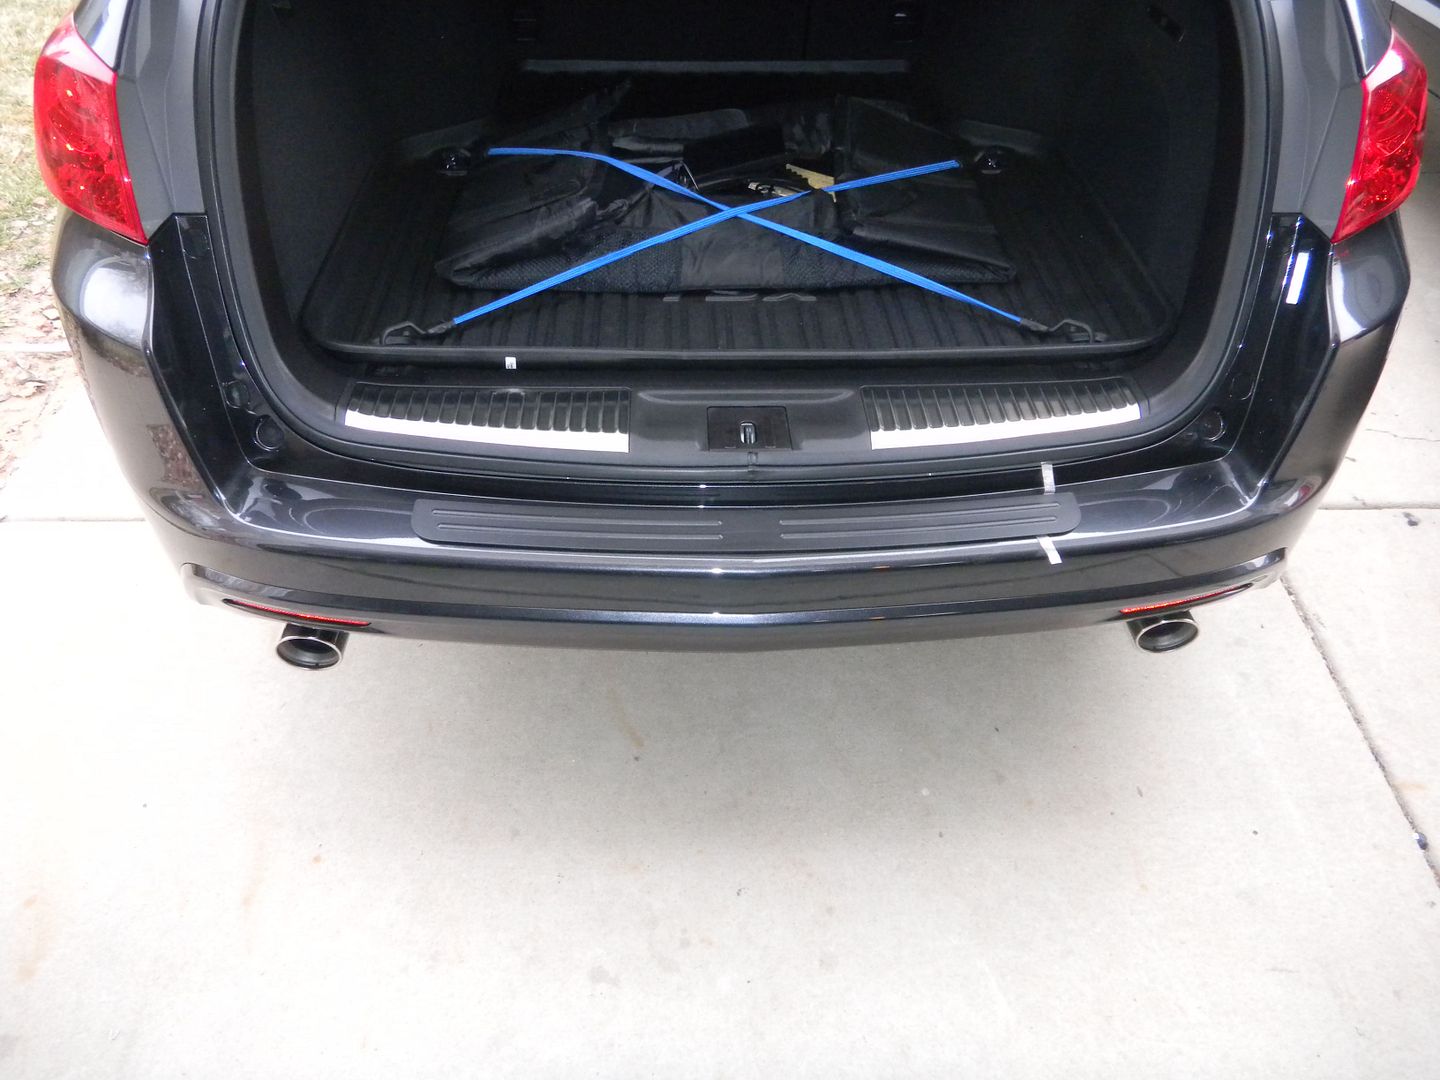
OEM rear tray
![Image]()
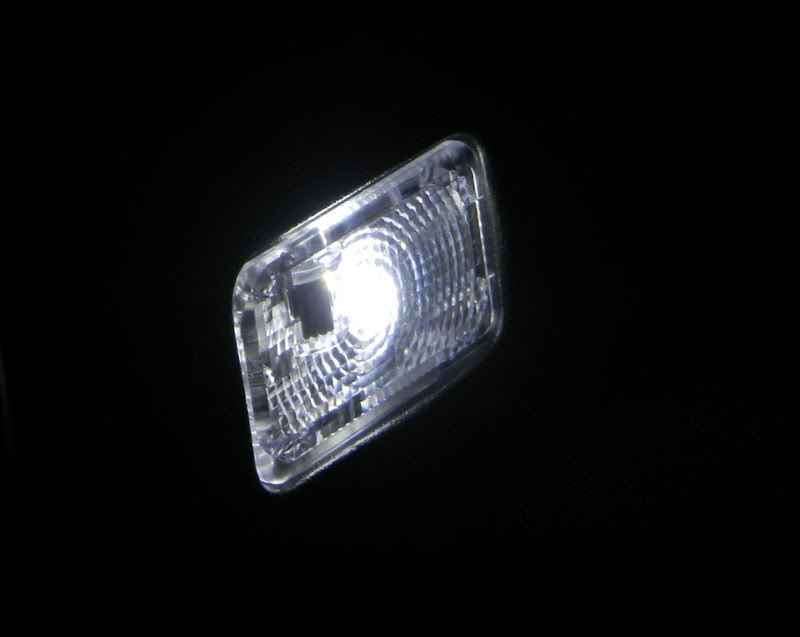
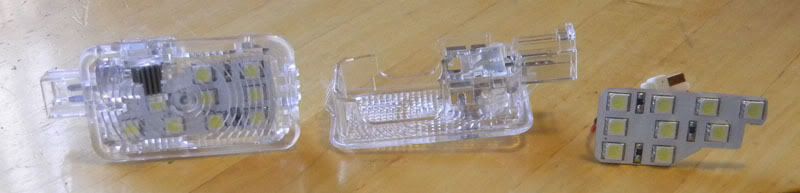
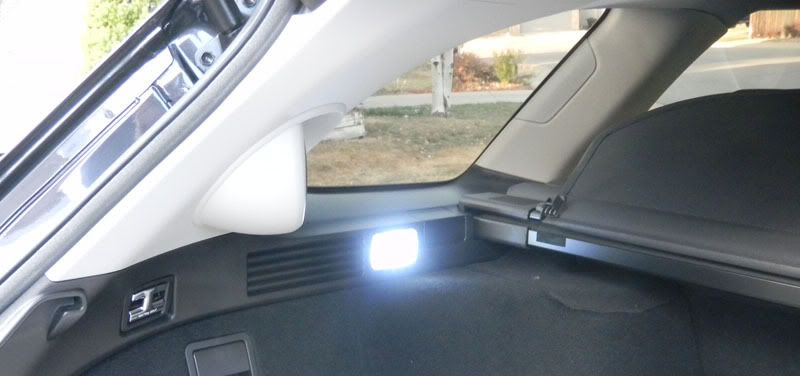
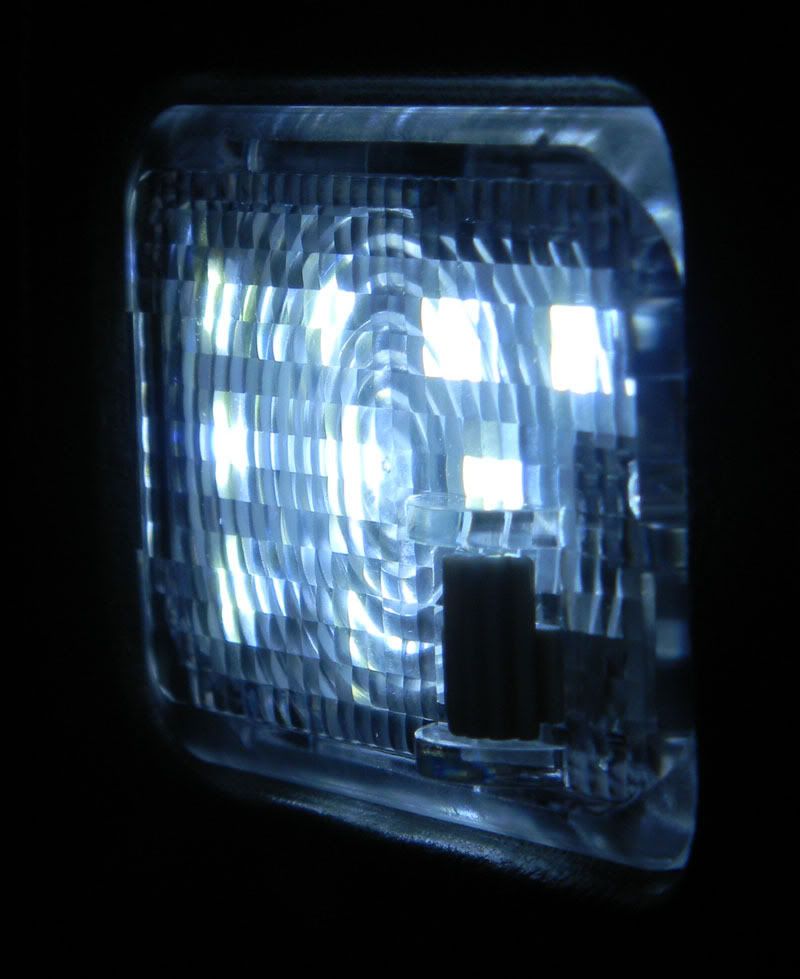
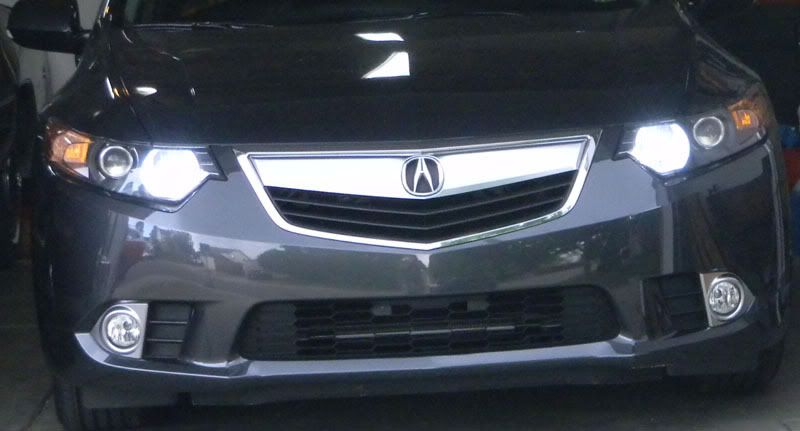
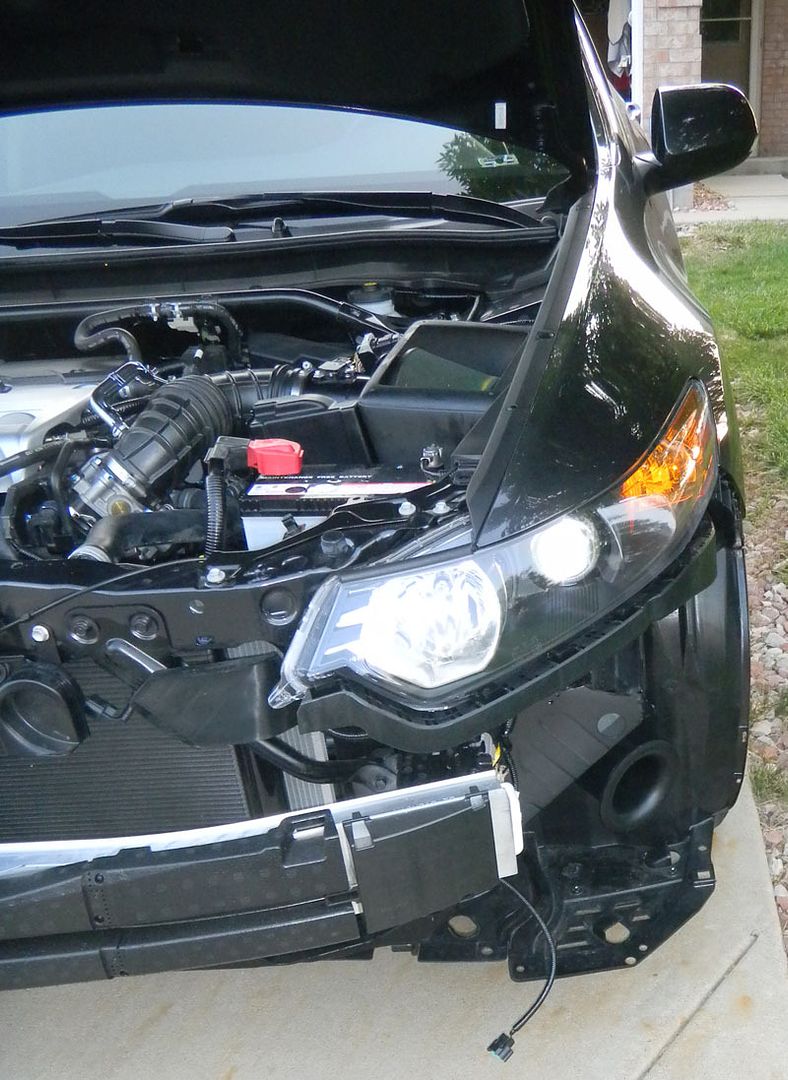
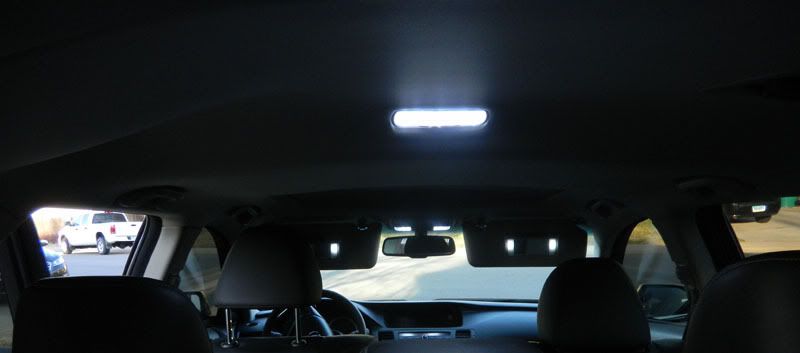
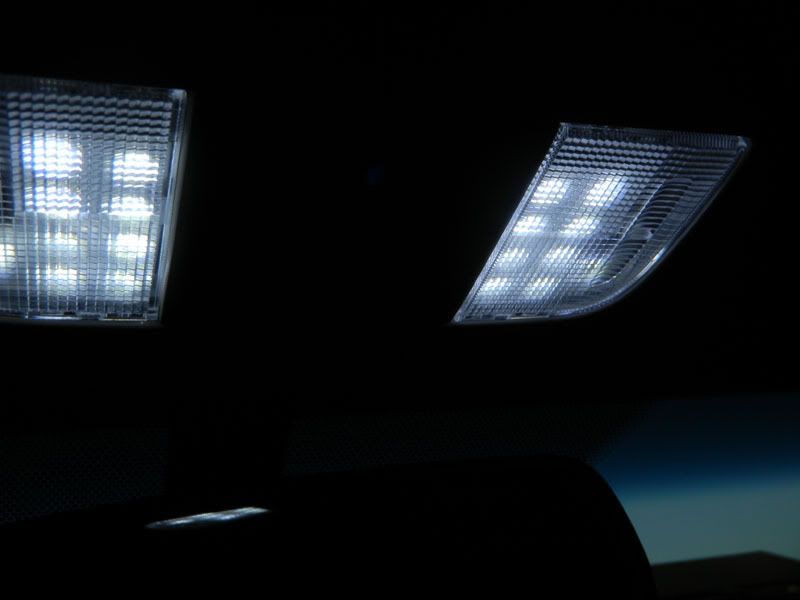
exLED 6000K xcept vanity 3500K
![Image]()
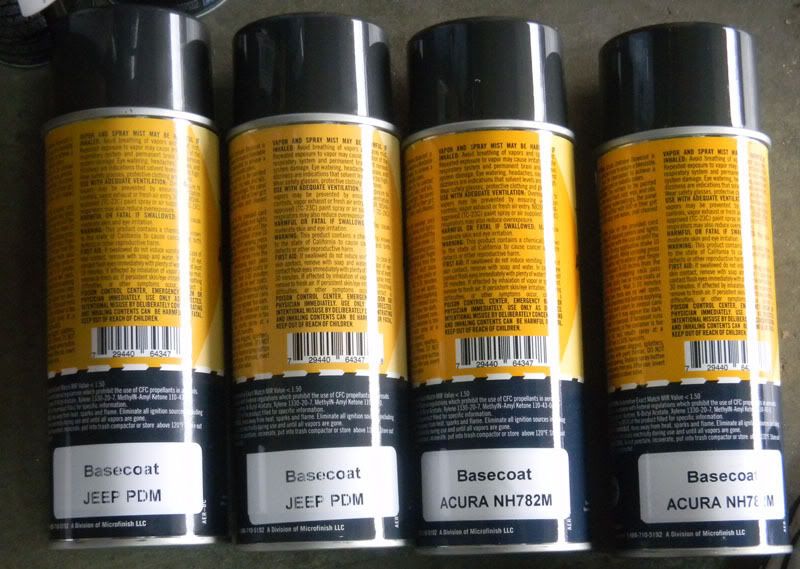
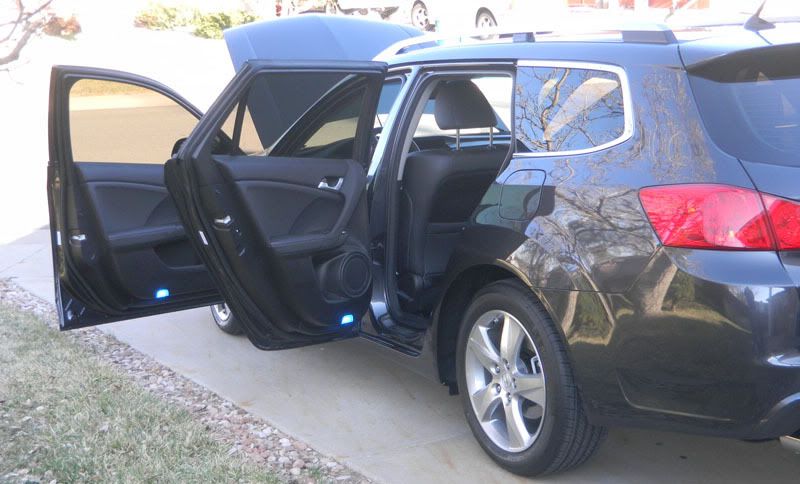
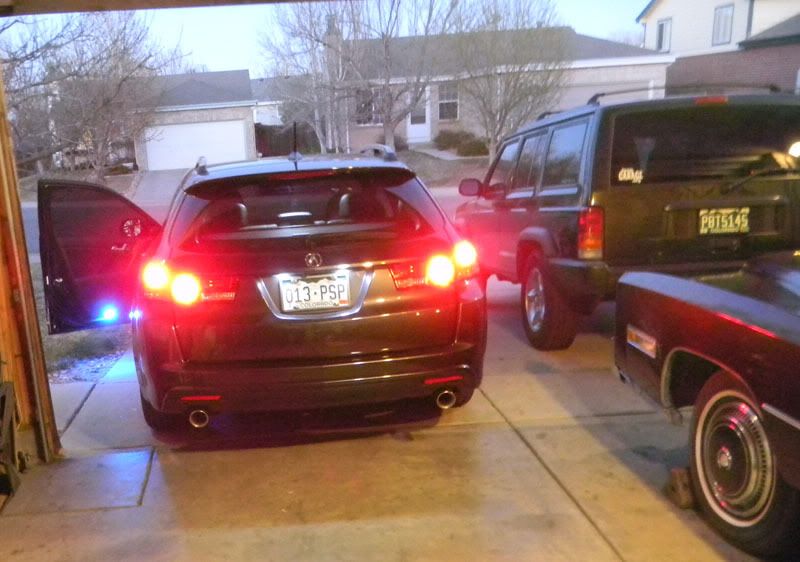
blue doors
![Image]()
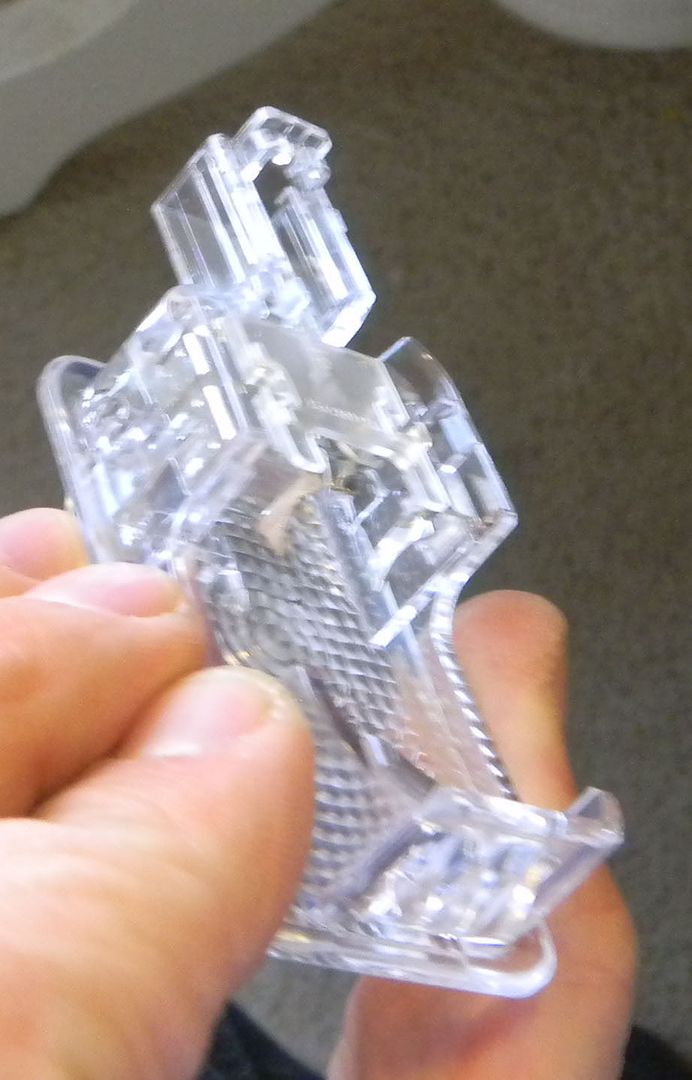
maps with clear lens to help diffuse it
![Image]()
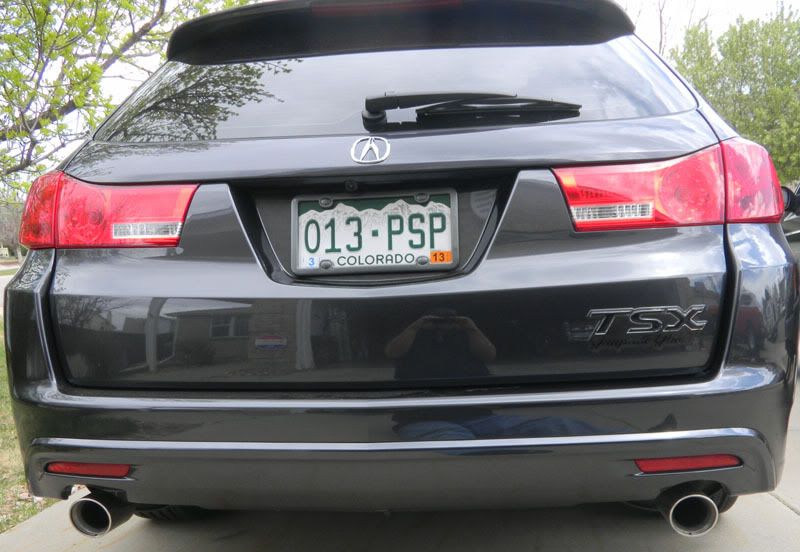
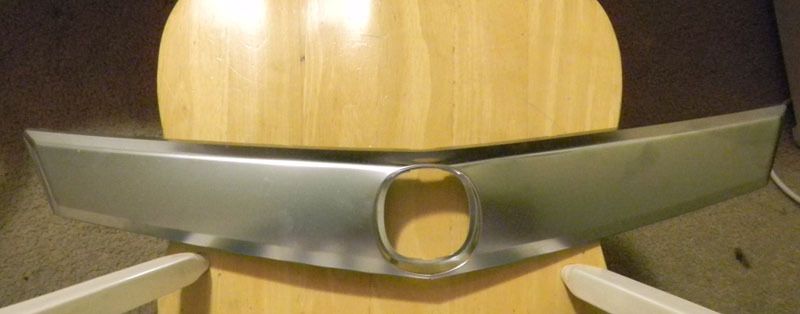
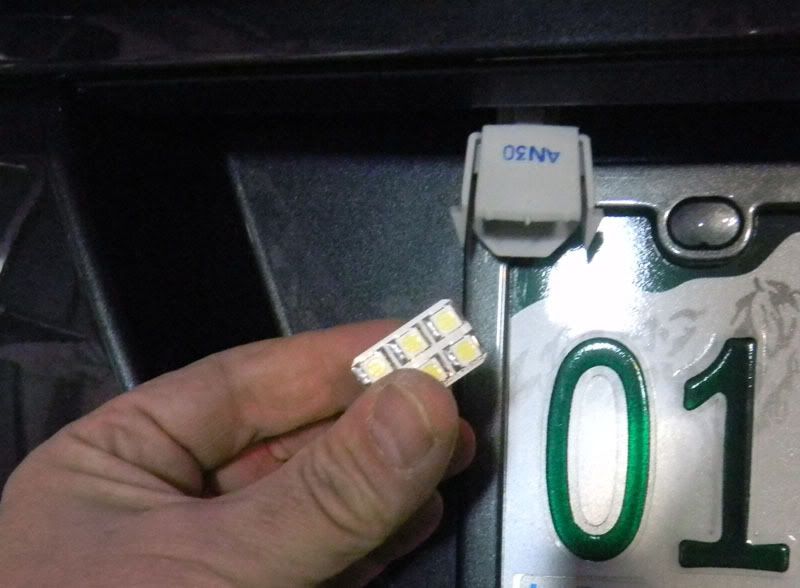
license plate
![Image]()
![Image]()
![Image]()
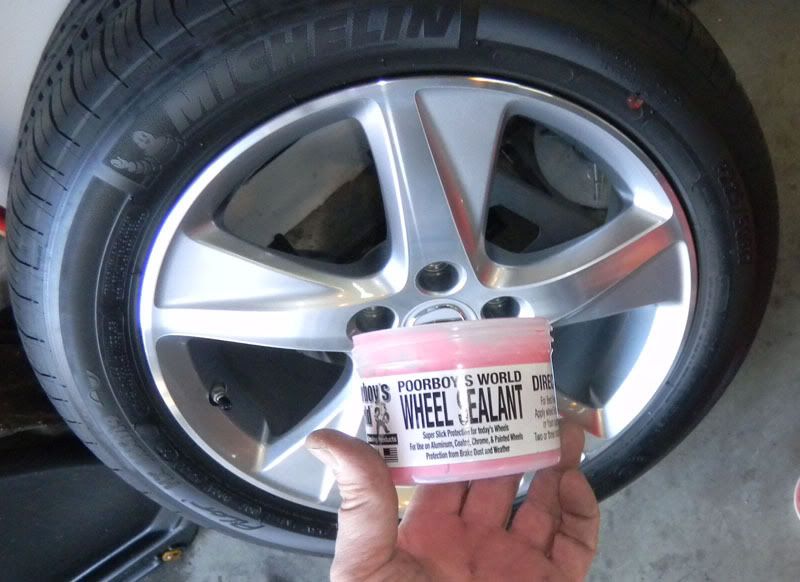
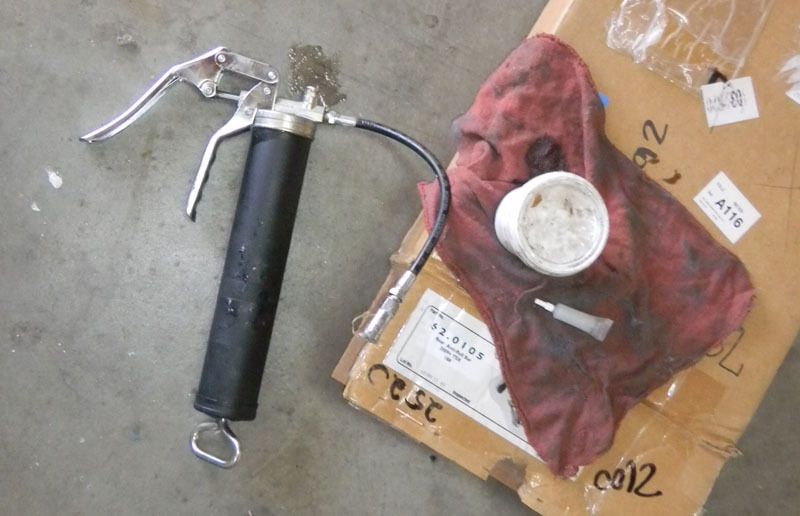
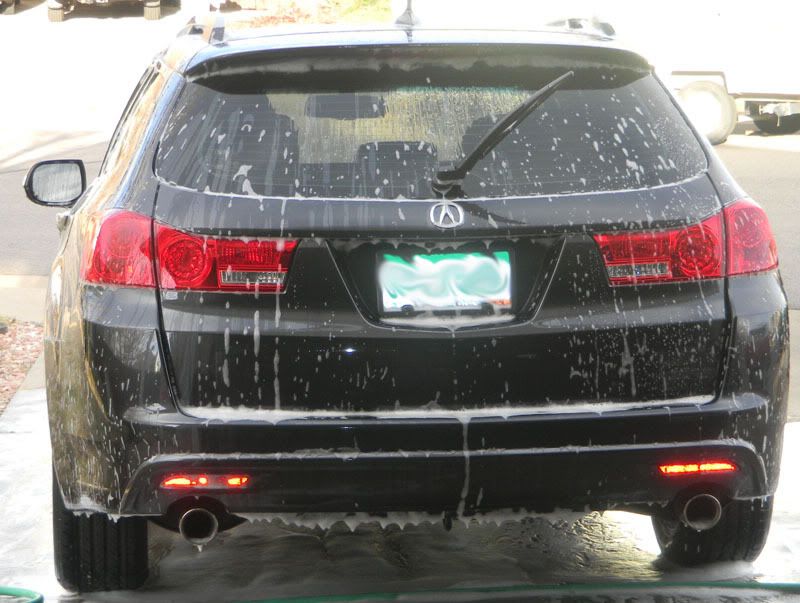
i did a full detail......only pic is of some shampoo with the foam gun. but she got Clayed, then 205/ then menzerna 085rd. then optiseal/ still needs some coats of P21S.
![Image]()
still in the pile to install: and more to come.
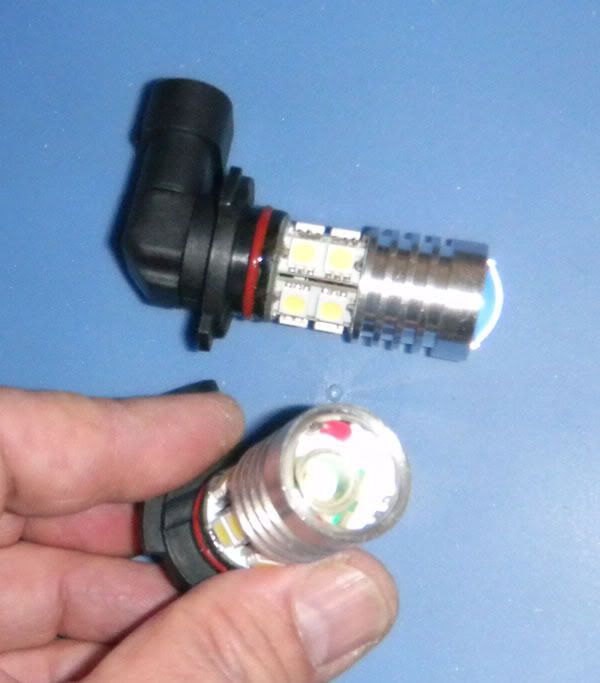
jlclightings CREE LED DRLs
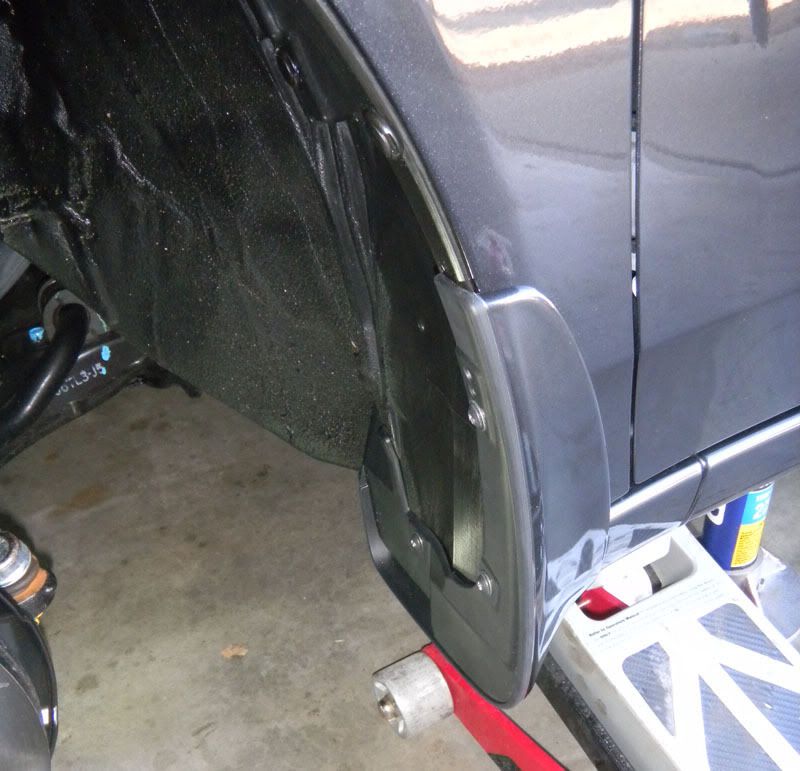
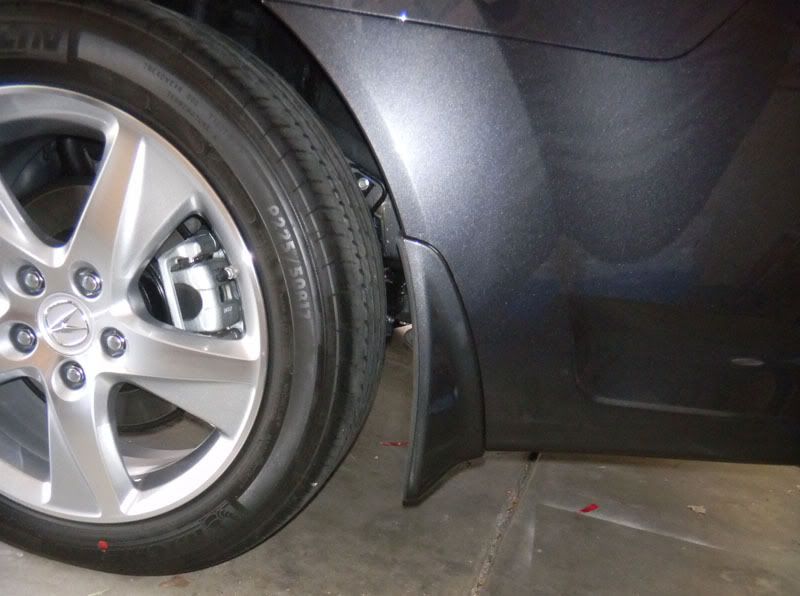
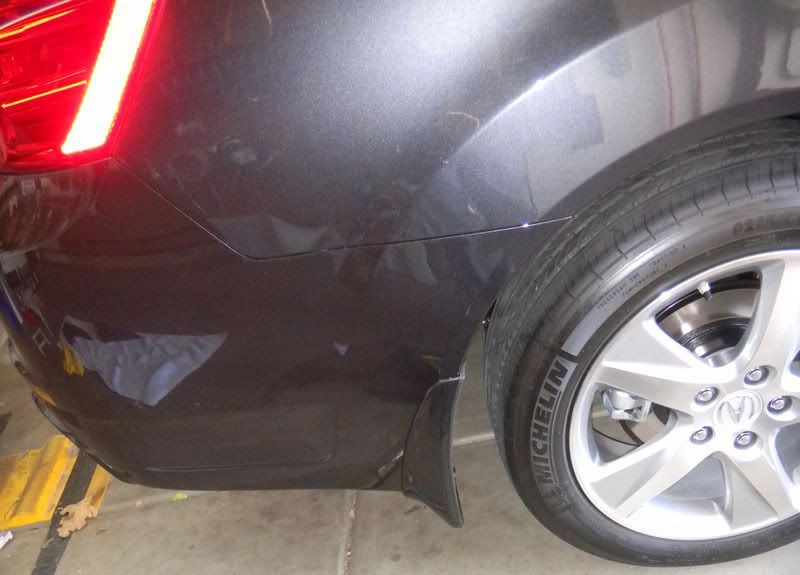
OEM GLM Splash guards
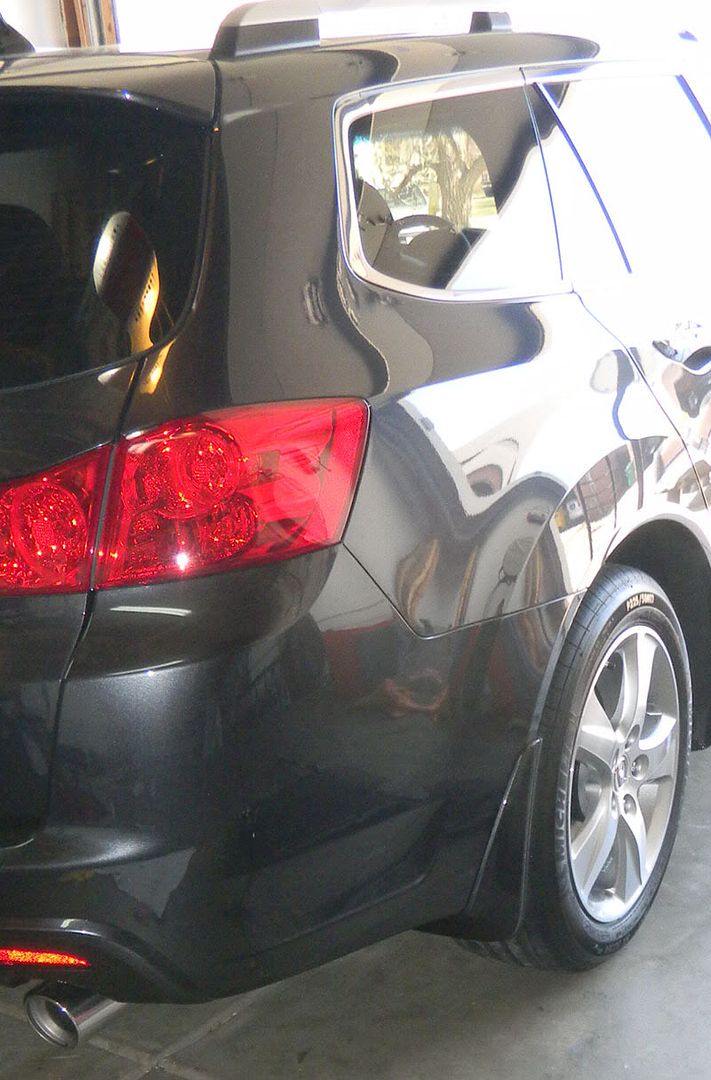
OEM Wagon rear bumper protector
the wish list;
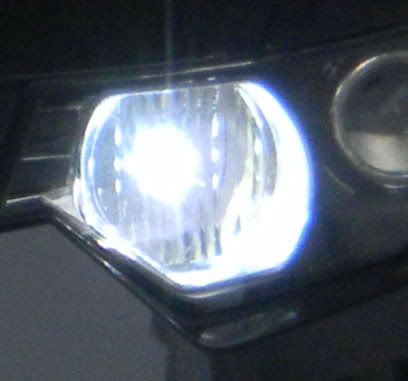
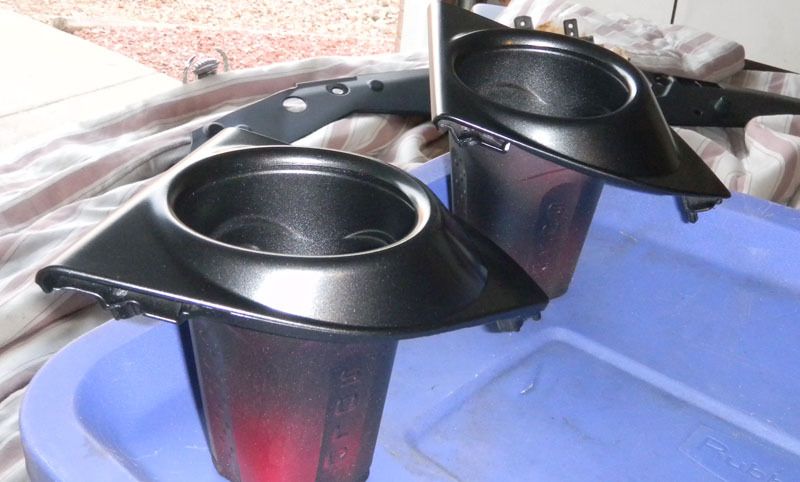
retrofit projector fogs
wheels
coilovers
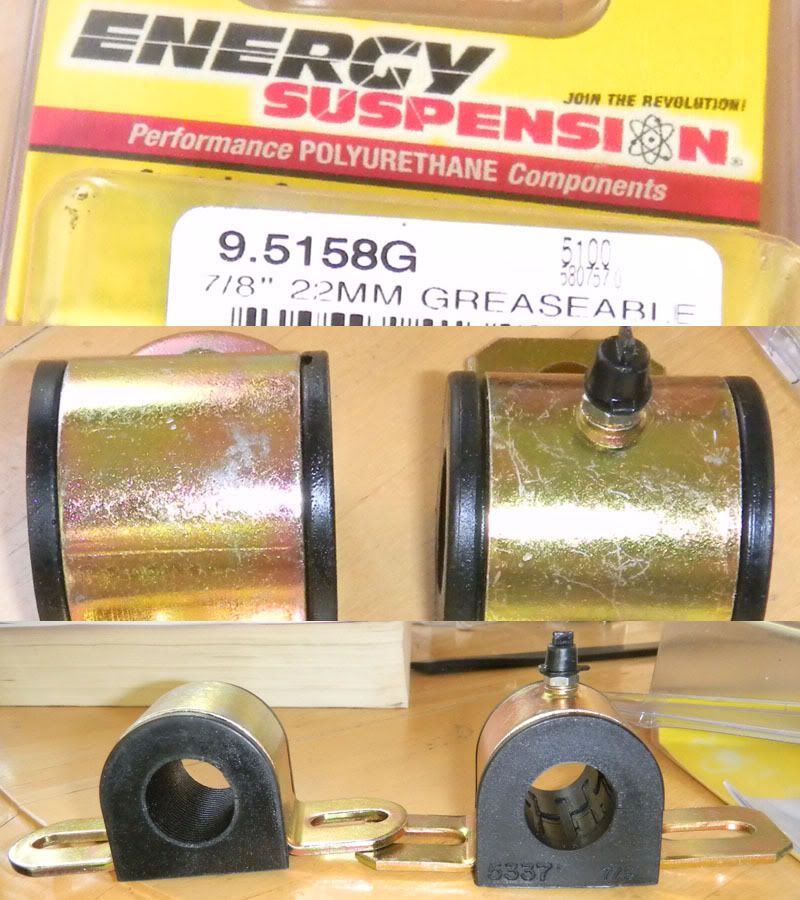
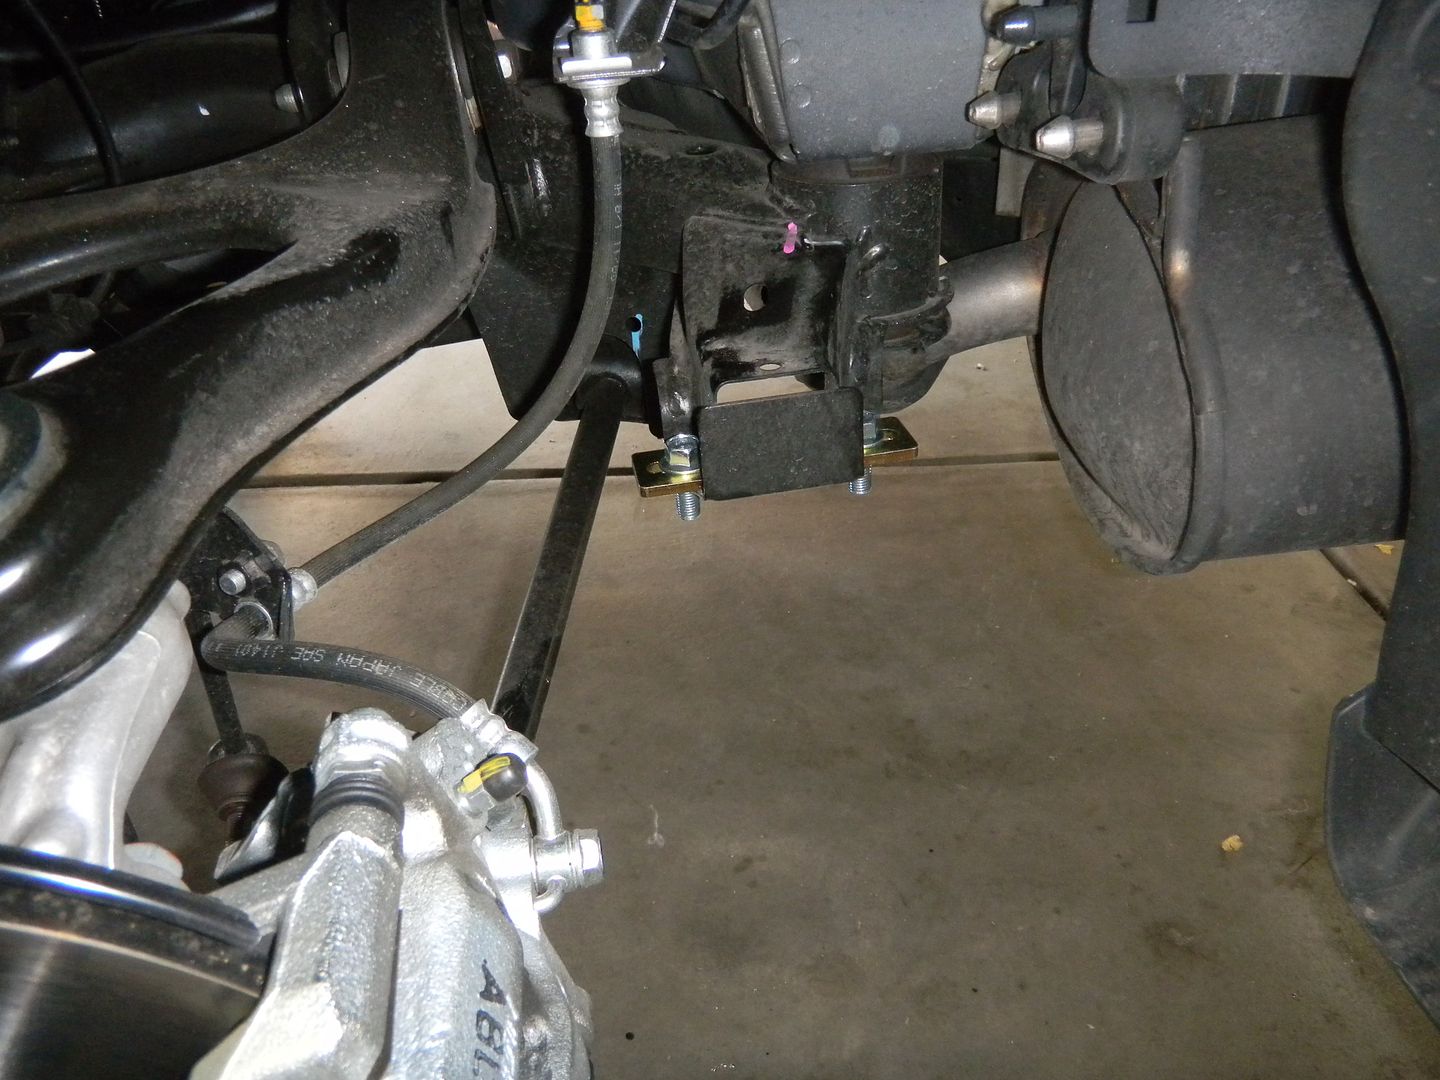
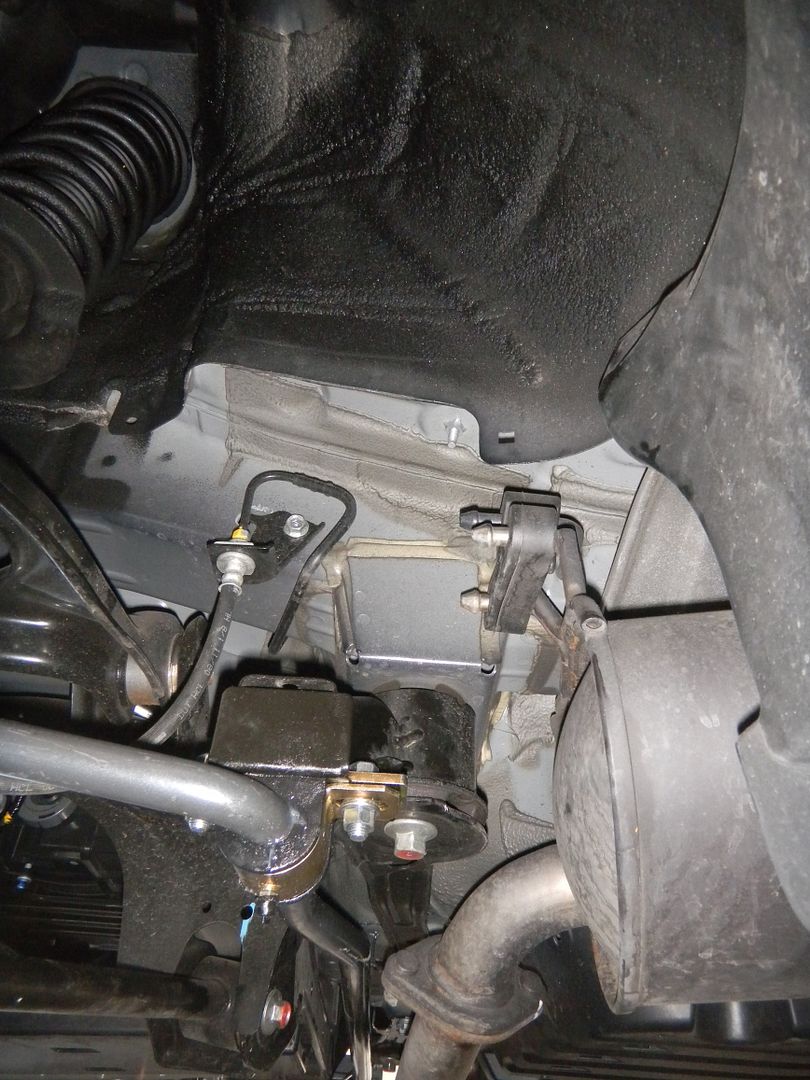
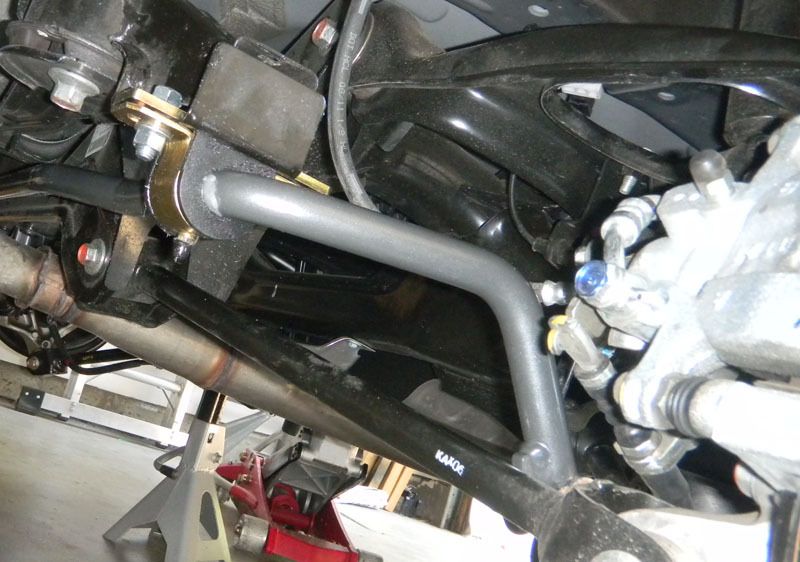
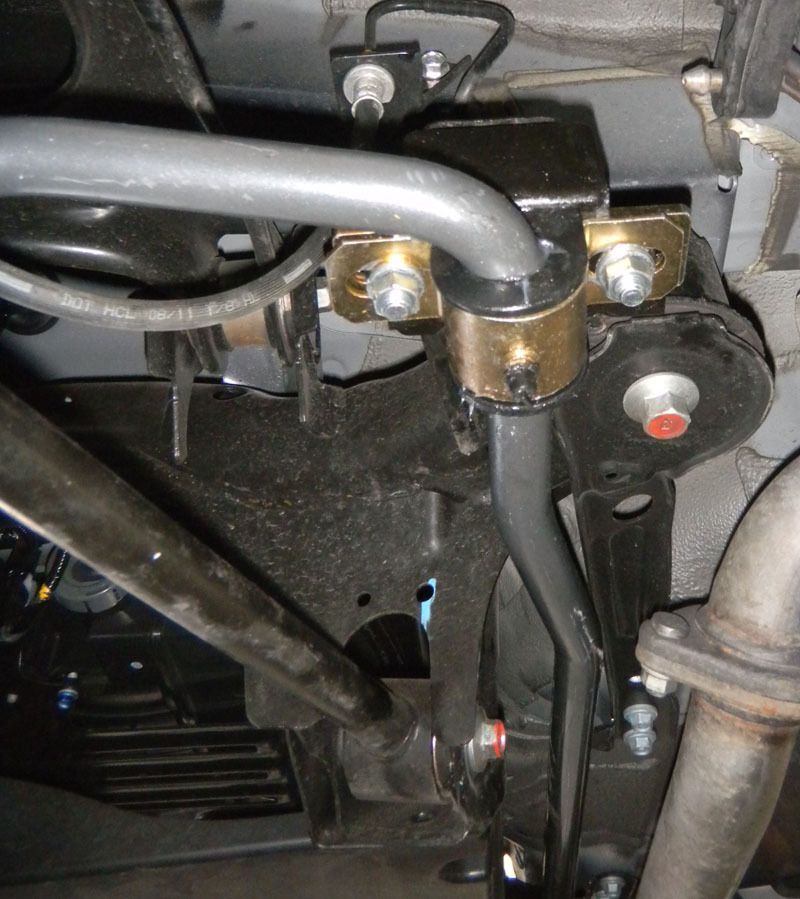
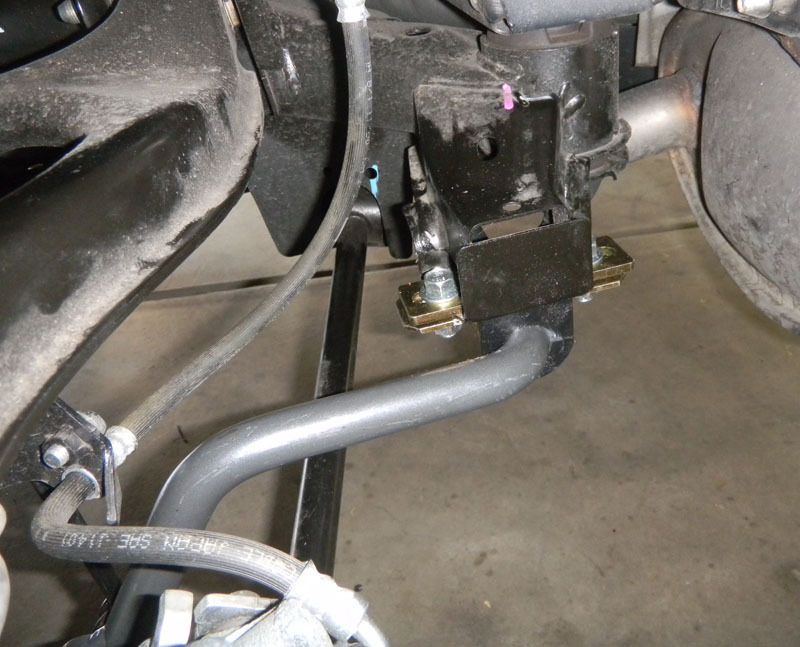
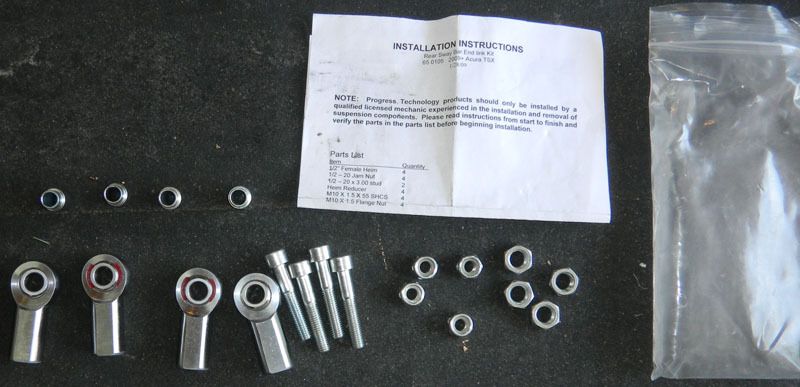
progress rear bar and links
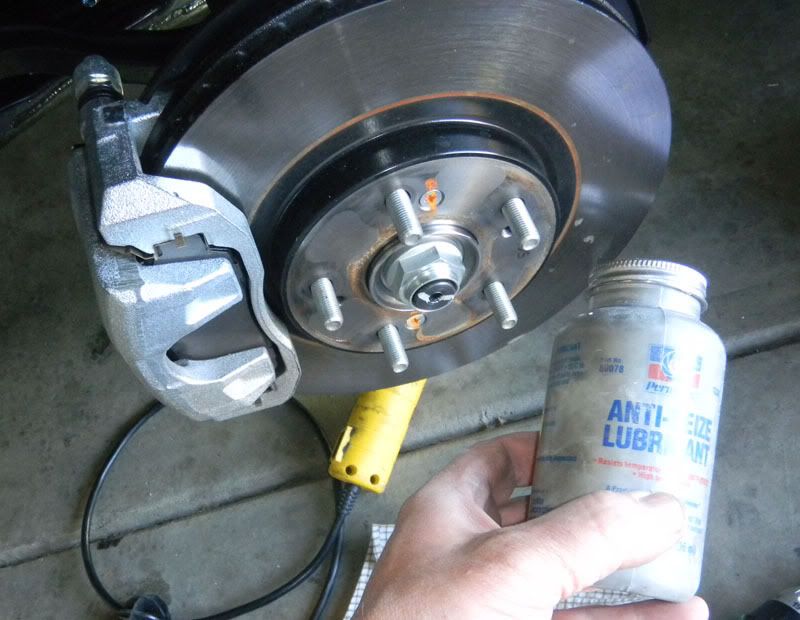
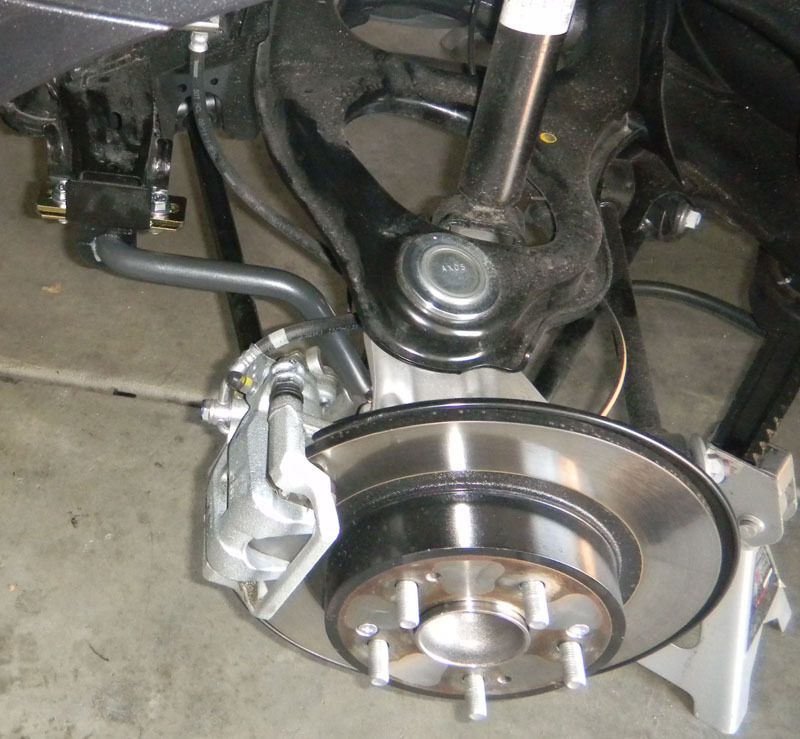
rotors and pads
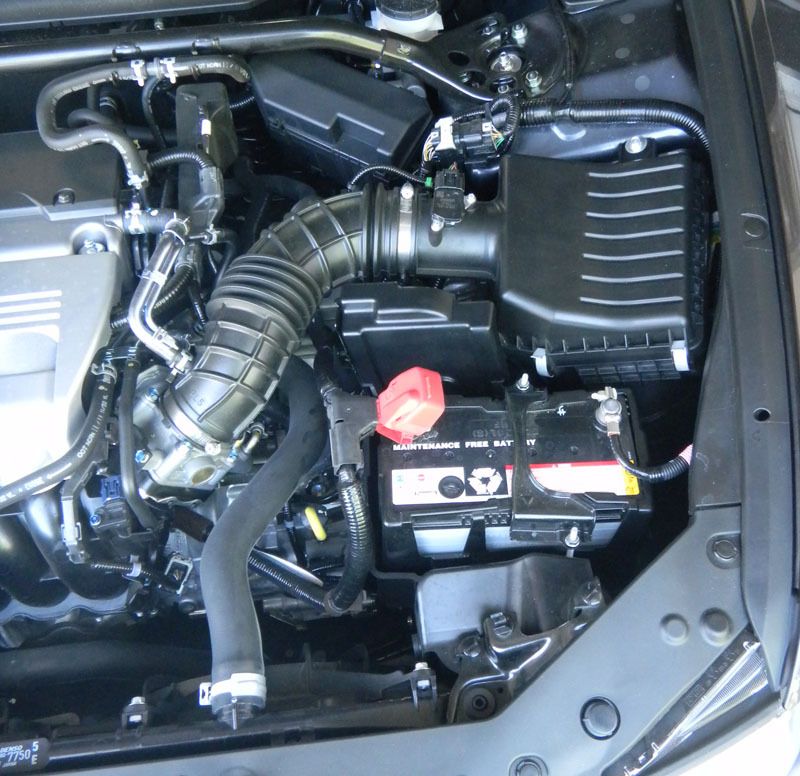
CTE intake and exhaust
I brought the Ghost home on Feb 27. Its 3/23 and i have about 500 SMILING MILES.
2012 TSX SportWagon Tech GLM.
I will catch up in this poat........
tinted at 20%
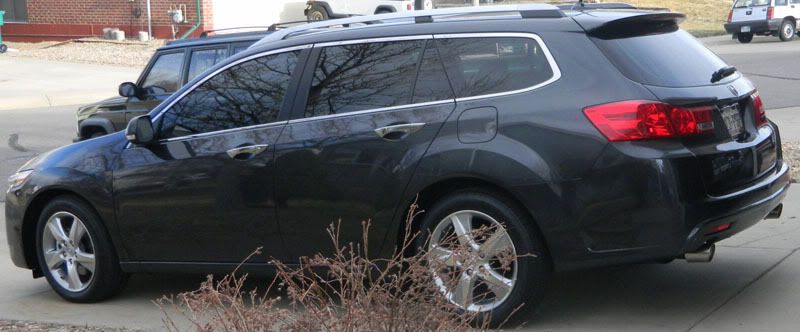
debadged
weathertech first 2 rows
OEM rear tray
exLED 6000K xcept vanity 3500K
blue doors
maps with clear lens to help diffuse it
license plate

i did a full detail......only pic is of some shampoo with the foam gun. but she got Clayed, then 205/ then menzerna 085rd. then optiseal/ still needs some coats of P21S.
still in the pile to install: and more to come.
jlclightings CREE LED DRLs
OEM GLM Splash guards
OEM Wagon rear bumper protector
the wish list;
retrofit projector fogs
wheels
coilovers
progress rear bar and links
rotors and pads
CTE intake and exhaust